
Unlock the Secrets to Crafting Your Own Stunning Phone Cases!
In today's world, where our smartphones are an extension of ourselves, the trend of creating custom phone cases is booming. DIY projects have taken the craft world by storm, and making your own phone case is a fantastic way to showcase your personality and creativity. Not only do you get to design something that truly reflects your individuality, but you also have the freedom to choose materials and styles that resonate with you. The crafting process is not just about the end product; it’s an enjoyable journey that allows for self-expression and creative exploration. To dive into this exciting world, you will need a few essential materials and tools, which we will discuss later. But first, let's ignite your imagination with some inspiring DIY phone case ideas!
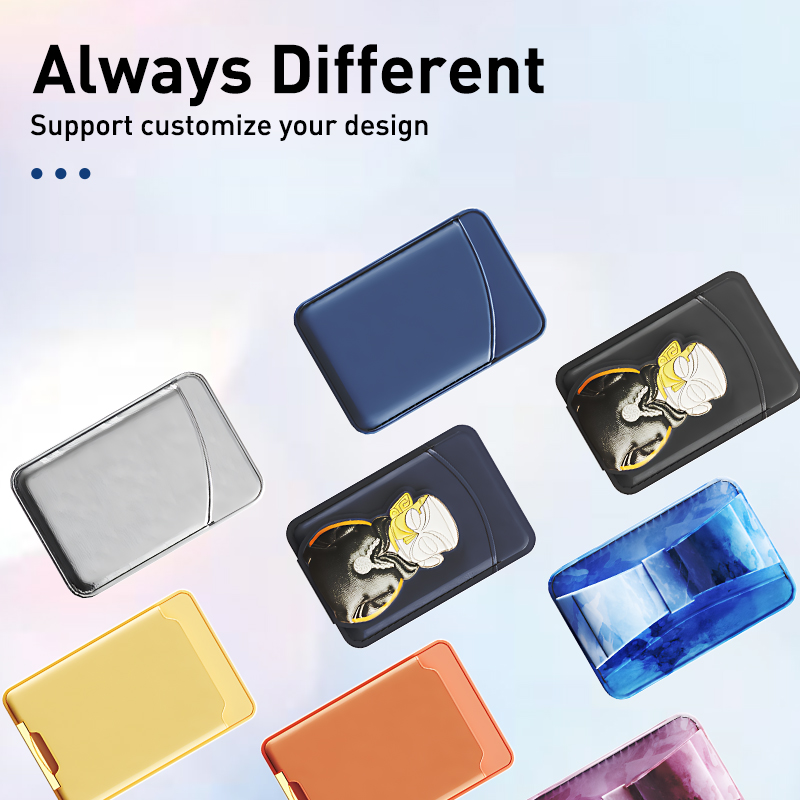
Exploring DIY Phone Case Ideas
When it comes to DIY phone cases, the possibilities are endless! You can start with minimalist designs that incorporate simple shapes and muted colors for a sleek look. Alternatively, if you prefer a bolder statement, consider vibrant patterns that feature bright colors and eye-catching graphics. Seasonal themes can also be a fun direction to explore; think floral designs in spring, warm tones in autumn, or even spooky motifs for Halloween. Moreover, character-inspired cases—drawing inspiration from your favorite movies, cartoons, or books—are a fantastic way to showcase your fandom. You might remember a friend who went all out for a summer project by creating a beach-themed case adorned with seashells and sand, which was not only visually striking but also a great conversation starter. Let your imagination run wild and encourage your creativity to shine through your phone case designs!
Materials and Tools You Need
To embark on your DIY phone case journey, gathering the right materials and tools is crucial. Start with the base material—silicone or resin are popular choices due to their flexibility and durability. If you prefer a fabric approach, consider using thick cotton or a sturdy canvas that can be painted or decorated. You'll also need paints and adhesives for both aesthetics and assembly; acrylic paints work well on various surfaces, while strong adhesives ensure your designs stay intact. Other tools to consider include scissors, a craft knife for precision cuts, and perhaps even a heat gun if you’re working with resin. Remember, the quality of your materials will significantly impact the final product, so select items that meet your standards for durability and visual appeal. A friend of mine recently crafted a resin case that not only looked stunning but also survived an accidental drop—proof that investing in quality materials pays off!
Step-by-Step Guide to Crafting Your Phone Case
Creating your custom phone case can be an enjoyable and rewarding process. Start by preparing your workspace: lay down some newspaper or a protective covering to catch any spills. Next, measure your phone to determine the dimensions of your case. Once you have your measurements, sketch out your design on paper. This step allows you to visualize the final product and make any necessary adjustments before you start crafting. After finalizing your design, gather your materials and begin assembling the base of your case. If you're using resin, mix it according to the package instructions and pour it into a mold that fits your phone shape. For fabric cases, cut the fabric to size, leaving extra for seams. Next, add your chosen designs—whether painting, applying stickers, or embedding decorative elements. Once everything is in place, allow your phone case to dry completely. Finally, you can add any finishing touches, like a clear coat for added protection or embellishments for extra flair. The beauty of this process lies in its flexibility—don’t hesitate to experiment with different techniques and materials until you find what works best for you!
Tips for Customization
Customization is where your creativity can truly shine! Consider using stencils to achieve clean lines and precision in your designs. To add depth, think about incorporating mixed media elements, such as fabric pieces, beads, or even pressed flowers. Embellishments like charms or sequins can also elevate your phone case from ordinary to extraordinary. Don't forget to share your creations with friends or online communities—your designs could inspire someone else to embark on their DIY journey!
Crafting Your Unique Phone Case
Crafting your own DIY phone case is not only a fun and engaging project, but it also brings about a sense of accomplishment and personal expression. The joy of designing something unique that reflects your style and personality is unmatched. As you explore the ideas shared in this article, remember that the creative process is just as important as the final product. So gather your materials, unleash your inner artist, and dive into the world of DIY phone cases. You might find that this simple project becomes a cherished hobby that allows you to continuously express your creativity!