Unlock the Secrets to Effortlessly Install Your Dream Kitchen Hood Vent!
Installing a kitchen hood vent installation is a crucial step toward maintaining a clean, efficient, and healthy cooking environment. Kitchen hood vents play a vital role in reducing smoke, odors, and excess moisture that can accumulate during cooking. They also help prevent grease buildup on your cabinetry and walls, which can lead to more extensive cleaning later on. Many homeowners opt for DIY installation, not only to save on professional labor costs but also to take pride in completing a home improvement project themselves. The satisfaction of transforming your kitchen with a properly installed hood vent can be extremely rewarding.
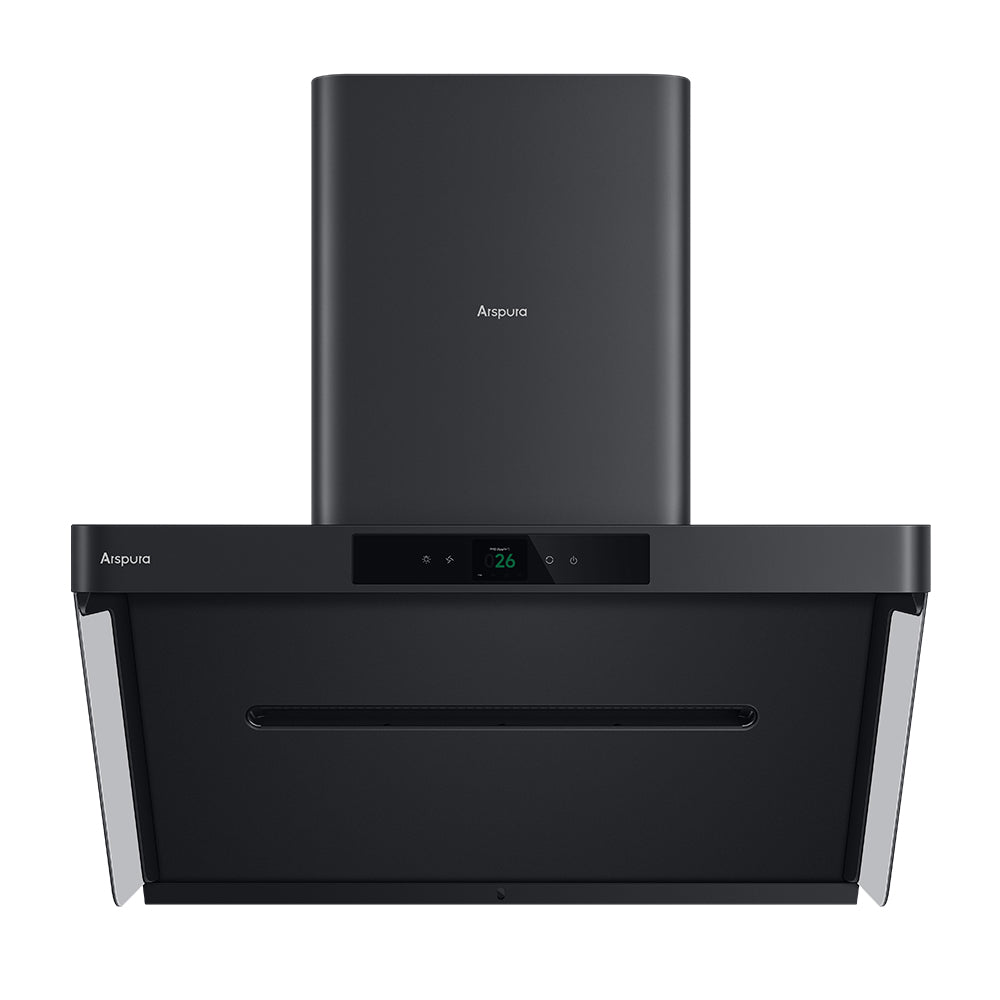
Understanding Kitchen Hood Vents
Kitchen hood vents are essential appliances that help to ensure adequate ventilation in your kitchen. They come in different types, primarily divided into ducted and ductless systems. Ducted hoods vent air outside your home, effectively removing smoke, steam, and odors. On the other hand, ductless hoods filter the air through charcoal filters and recirculate it back into the kitchen, making them ideal for spaces without external venting options. Understanding how your chosen hood functions is key to optimizing its performance. The right kitchen hood vent not only enhances the air quality but also contributes to a more enjoyable cooking experience.
Essential Tools and Materials
Before starting your kitchen hood vent installation, gathering the necessary tools and materials is crucial. You will need a drill, a screwdriver, a measuring tape, and a level to ensure proper alignment. Additionally, safety gear such as gloves and goggles can protect you during the process. The materials required include the kitchen hood vent itself, appropriate ductwork (for ducted systems), and mounting hardware. Having these tools and materials on hand will streamline the installation process and help you avoid unnecessary trips to the store.
Step-by-Step Installation Guide
Here's a comprehensive guide to help you install your kitchen hood vent with ease:
- Preparation: Begin by turning off the power to the area where you’ll be working. Measure the space above your cooktop to determine the ideal height for your hood vent. This is typically between 24 to 30 inches above the cooktop.
- Marking the Mounting Location: Use your measuring tape to mark the mounting location on the wall. Ensure it is level and centered above the cooktop.
- Install the Mounting Bracket: Secure the mounting bracket to the wall using your drill and screws. Make sure it is sturdy enough to support the weight of the hood vent.
- Attach the Ductwork: If you are installing a ducted hood, connect the ductwork to the vent. Ensure all connections are tight to prevent air leaks. If you are using a ductless system, skip this step.
- Mount the Hood Vent: With assistance, lift the hood vent and align it with the mounting bracket. Secure it in place using screws.
- Electrical Connections: If your hood requires electrical connection, carefully connect the wires according to the manufacturer's instructions. Make sure to follow safety protocols and, if in doubt, consult an electrician.
- Test the Vent: Once everything is secured and connected, turn the power back on and test the hood to ensure it operates correctly. Check the lights and fan settings to confirm everything is functioning as intended.
By following these steps, you will have successfully installed your kitchen hood vent, enhancing the air quality in your cooking space.
Common Pitfalls to Avoid
While installing a kitchen hood vent can be a straightforward task, several common mistakes can hinder the process. One frequent pitfall is miscalculating measurements, leading to improper placement of the hood. Always double-check your measurements before cutting or drilling. Another mistake is inadequate support for the vent, which can cause it to sag or detach over time. Utilizing the proper mounting hardware and ensuring secure installation will mitigate this risk. Lastly, neglecting to follow safety protocols, especially during electrical work, can lead to hazardous situations. Always prioritize safety and consult professionals if you feel uncertain about any step of the process.
Final Thoughts on Your Kitchen Vent Installation
Installing a kitchen hood vent may seem daunting at first, but with the right tools, materials, and guidance, it can be an enjoyable and fulfilling project. Proper ventilation is vital for a healthy kitchen environment, and taking on this DIY task not only saves you money but also gives you a sense of accomplishment. Embrace the challenge, and enjoy the benefits of a well-ventilated kitchen!