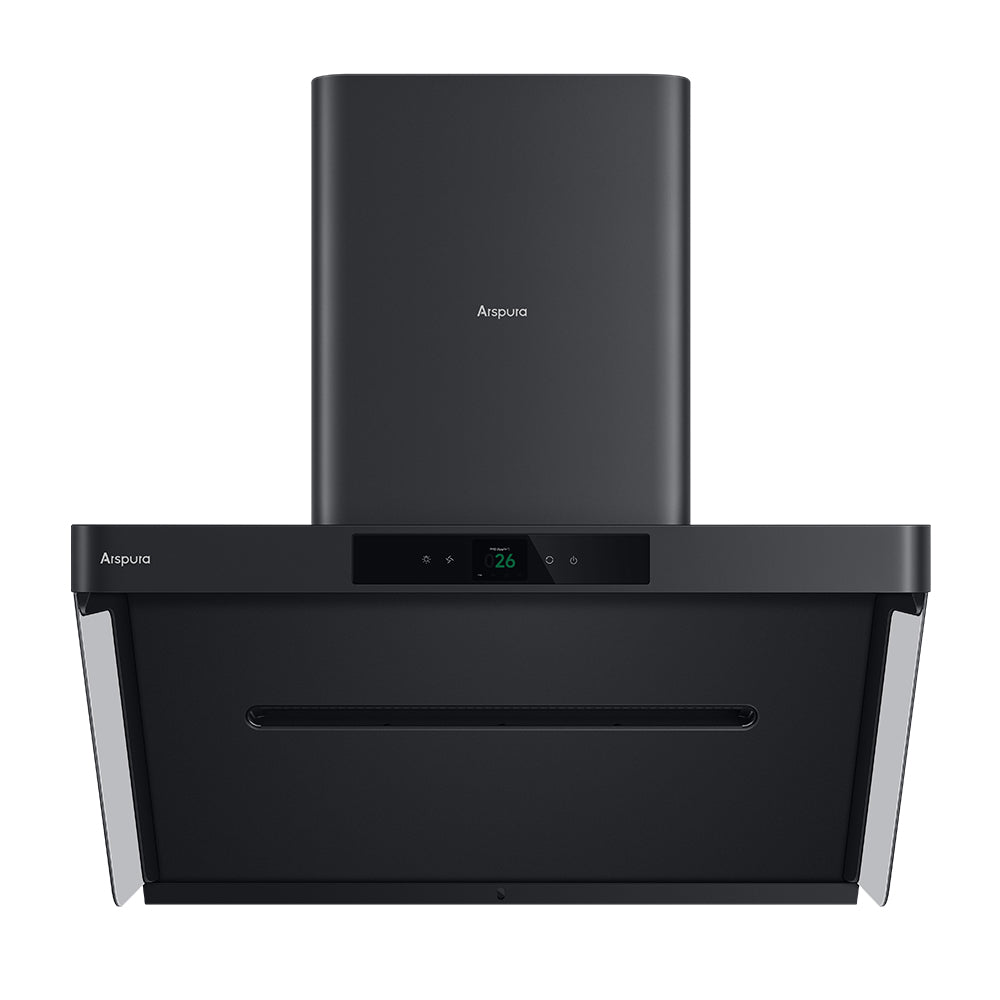
Transform Your Kitchen: Discover the Secret to Sparkling Hoods You'll Love!
A clean kitchen hood is more than just a visual delight; it plays a crucial role in maintaining a healthy cooking environment. Many of us underestimate the impact of grease and grime that can accumulate on this essential kitchen appliance. Over time, cooking methods like frying or sautéing can lead to significant grease build-up, not only affecting the aesthetics of your kitchen but also diminishing the performance of the hood itself. A greasy hood can contribute to poor air quality, creating an unhealthy cooking space. In this article, we will explore effective cleaning methods and tools that can help you reclaim the sparkle of your kitchen hood, making your cooking experience both enjoyable and safe.

Understanding the Build-Up: Why Kitchen Hoods Get Greasy
Grease accumulation on kitchen hoods is a common issue that many homeowners face, and understanding the reasons behind this build-up is the first step toward a cleaner kitchen. Various cooking methods, especially those involving high heat or oil, contribute significantly to grease deposits. For instance, frying bacon or sautéing vegetables can release tiny droplets of oil that rise and settle on surfaces, including your kitchen hood. Additionally, cooking certain types of food, like stir-fries or deep-fried dishes, can exacerbate this problem. Not only does this greasy residue detract from the kitchen's appearance, but it can also affect air quality. Pollutants and odors can linger, making your kitchen feel less inviting. Therefore, regular cleaning of your kitchen hood is essential to ensure a hygienic cooking environment.
Essential Tools and Products for Cleaning
When it comes to cleaning a greasy kitchen hood, having the right tools and products is key to achieving effective results. Start with microfiber cloths, which are excellent for trapping dust and grease without scratching surfaces. Scrubbing pads are also invaluable, especially for tougher grease spots that require a bit more elbow grease. For those who prefer natural cleaning solutions, a mixture of vinegar and baking soda can work wonders. This combination not only cuts through grease but also eliminates odors. Additionally, using a degreaser can make your cleaning tasks easier and more efficient. It’s important to have a step ladder or stool handy if your hood is mounted high, allowing you to reach every corner safely. With these tools at your disposal, you can tackle the toughest kitchen hood cleaning jobs with confidence.
Step-by-Step Guide to Cleaning Your Kitchen Hood
Cleaning your kitchen hood doesn't have to be a daunting task. Follow this step-by-step guide to ensure you do it effectively and safely. First, gather your materials: microfiber cloths, scrubbing pads, your selected cleaning solution, and a bucket of warm water. Before you start, ensure the hood is turned off and cool to the touch. Begin by removing any filters if your hood has them; these can often be washed separately. Next, spray your cleaning solution generously on the exterior of the hood, focusing on areas with heavy grease build-up. Allow the solution to sit for a few minutes to break down the grease. Using a microfiber cloth, wipe the surface in circular motions, applying more pressure on stubborn spots. For the filters, soak them in hot, soapy water for about 15-20 minutes, then scrub gently with a scrubbing pad. Rinse thoroughly and allow them to dry completely before replacing. Finally, wipe down the entire hood with a clean, damp cloth to remove any remaining residue and dry it off. Remember to always follow safety precautions, such as wearing gloves and ensuring proper ventilation, especially when using strong cleaning solutions.
Maintaining a Clean Kitchen Hood: Tips and Tricks
Once you've achieved a clean kitchen hood, maintaining its pristine condition is essential. Establishing a regular cleaning schedule is one of the best ways to prevent grease build-up. Consider wiping down the hood after each use, particularly after cooking greasy foods. This quick daily habit can save you from more extensive cleaning sessions later on. Additionally, it’s wise to incorporate preventative measures. For instance, using splatter guards while frying can minimize oil droplets from escaping and settling on surfaces. You might also want to consider using an air purifier in your kitchen to improve air quality and reduce the overall grease accumulation. Lastly, if you’re a fan of certain cooking styles that produce more grease, try to balance them out with healthier cooking methods, such as grilling or steaming, which produce less residue. These small lifestyle changes can make a significant difference in keeping your kitchen hood cleaner for longer.
Maintaining Your Kitchen Hood's Sparkle
In summary, maintaining a clean kitchen hood is vital for both hygiene and aesthetics. We’ve explored the reasons behind grease build-up, the essential tools and products for effective cleaning, and a detailed step-by-step guide to ensure your kitchen hood shines like new. By adopting regular cleaning habits and preventative measures, you can enjoy the benefits of a sparkling kitchen hood that not only enhances your cooking experience but also contributes to a healthier living environment. So, roll up your sleeves and take action—your kitchen deserves the best!


