Unlock the Secrets to Mastering Your Kitchen Vent Hood Repair!
Kitchen vent hoods play a crucial role in maintaining a clean and safe cooking environment. They help remove smoke, steam, and odors that can accumulate while cooking, ensuring that your kitchen remains comfortable and healthy. However, like any appliance, kitchen vent hoods can run into issues over time. Common problems include poor airflow, strange noises, and electrical malfunctions, which can be frustrating for any home cook. The good news is that many of these issues can be addressed with a bit of DIY knowledge, saving you time and money on professional repairs. In this article, we will explore how to repair your kitchen vent hood and troubleshoot some of the most common issues you might encounter.
Understanding Your Kitchen Vent Hood
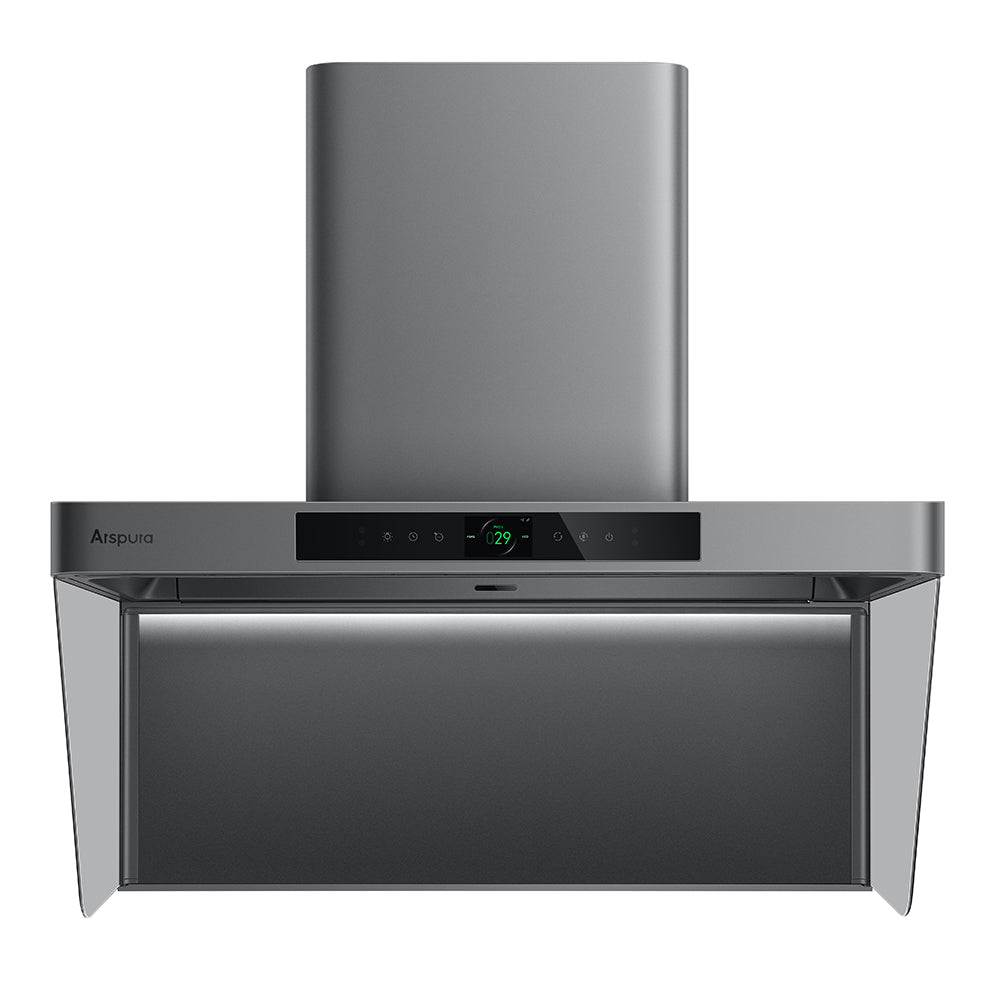
Before diving into repairs, it's essential to understand how kitchen vent hoods work. A vent hood typically consists of several key components: the motor, the fan, the filter, and the ductwork. The motor powers the fan, which draws air through the filter and out of the kitchen. There are various types of vent hoods, including wall-mounted, under-cabinet, and island models, each with its own features. For instance, some hoods come with built-in lighting to illuminate your cooking area, while others are designed to be more aesthetically pleasing with sleek designs. Knowing the components and functions of your vent hood can help you diagnose issues more effectively.
Troubleshooting Common Issues
When your kitchen vent hood isn’t performing at its best, it can be a source of frustration. The first step in troubleshooting is identifying the symptoms. Poor airflow is often a sign that the fan or filters are blocked. If you notice unusual noises, it could indicate that the motor is malfunctioning or that debris is trapped in the fan. Electrical issues, such as the hood not turning on, may stem from faulty wiring or a blown fuse. By understanding these common problems, you can take the right steps to diagnose and address the root causes, ensuring your kitchen remains a pleasant cooking environment.
Step-by-Step Repair Guide
Now that you have a grasp on the components and common issues, let’s delve into a step-by-step guide for repairing your kitchen vent hood. Start by disconnecting the power supply to ensure safety. Next, remove the filter—this is often a simple task that may just require a bit of twisting or pulling. Clean the filter thoroughly with warm, soapy water or replace it if it shows signs of wear. If you notice poor airflow, check the fan. Dust and grease can accumulate, so a gentle cleaning with a soft brush or cloth might be necessary. If your vent hood has electrical issues, inspect the wiring connections and replace any blown fuses. For those less comfortable with electrical repairs, it’s best to consult a professional. Always refer to your owner’s manual for specific instructions related to your model.
Safety Precautions
Before embarking on any repair work, prioritize safety. Always disconnect the power supply before starting any repairs to prevent the risk of electric shock. Use protective gear, such as gloves and safety goggles, especially when dealing with cleaning agents or sharp components. If you're ever unsure about a procedure or feel uncomfortable, it’s wise to consult a professional technician instead of risking injury or further damage to your appliance.
Maintaining Your Kitchen Vent Hood Efficiency
In this article, we've explored the importance of kitchen vent hoods, the common issues they face, and how to tackle repairs yourself. By understanding your appliance and following the outlined steps, you can maintain a functional and efficient kitchen environment. Remember, regular maintenance can prevent many problems from arising in the first place. So, don’t hesitate to take on these repair tasks confidently—your kitchen will thank you for it!